Redoing My Kitchen Floors // Thick N Fit Kitchen™ Remodel
Hey Queens!
So if you’ve been following me on Instagram (which if you don’t here ya go), then you know that I’ve basically embarked on a mission to be the next black millennial Joanna Gaines…
Lol! One of my favorite followers, Patrick, had me ROLLING with this comment. And yes, I refinished that table my damn self. Details to come in a future post!
To give myself a quick distraction from how much grad school sucks away at my soul sometimes, I started watching House Hunters because they were only 30 min episodes and I’ve always loved looking at houses. But fast forward a year, and I’ve definitely become an HGTV addict. I’ve finished all of House Hunters, House Hunters Renovation, Caribbean Life, Flip or Flop, Flip or Flop Nashville, and many, many more (Hulu, new seasons please, k?).
I literally can’t wait for the day I can **hopefully/maybe** buy a house, and get to unleash my growing interior design eye. But, real talk, the inner designer in me wasn’t ready to wait the 30+ years it would probably take me to get to that place. So I’ve been trying to find cheap, easy-ish (b/c lets face it, when doing home stuff the best looking projects at the end are never that easy) apartment friendly changes to spruce up my apartment kitchen.
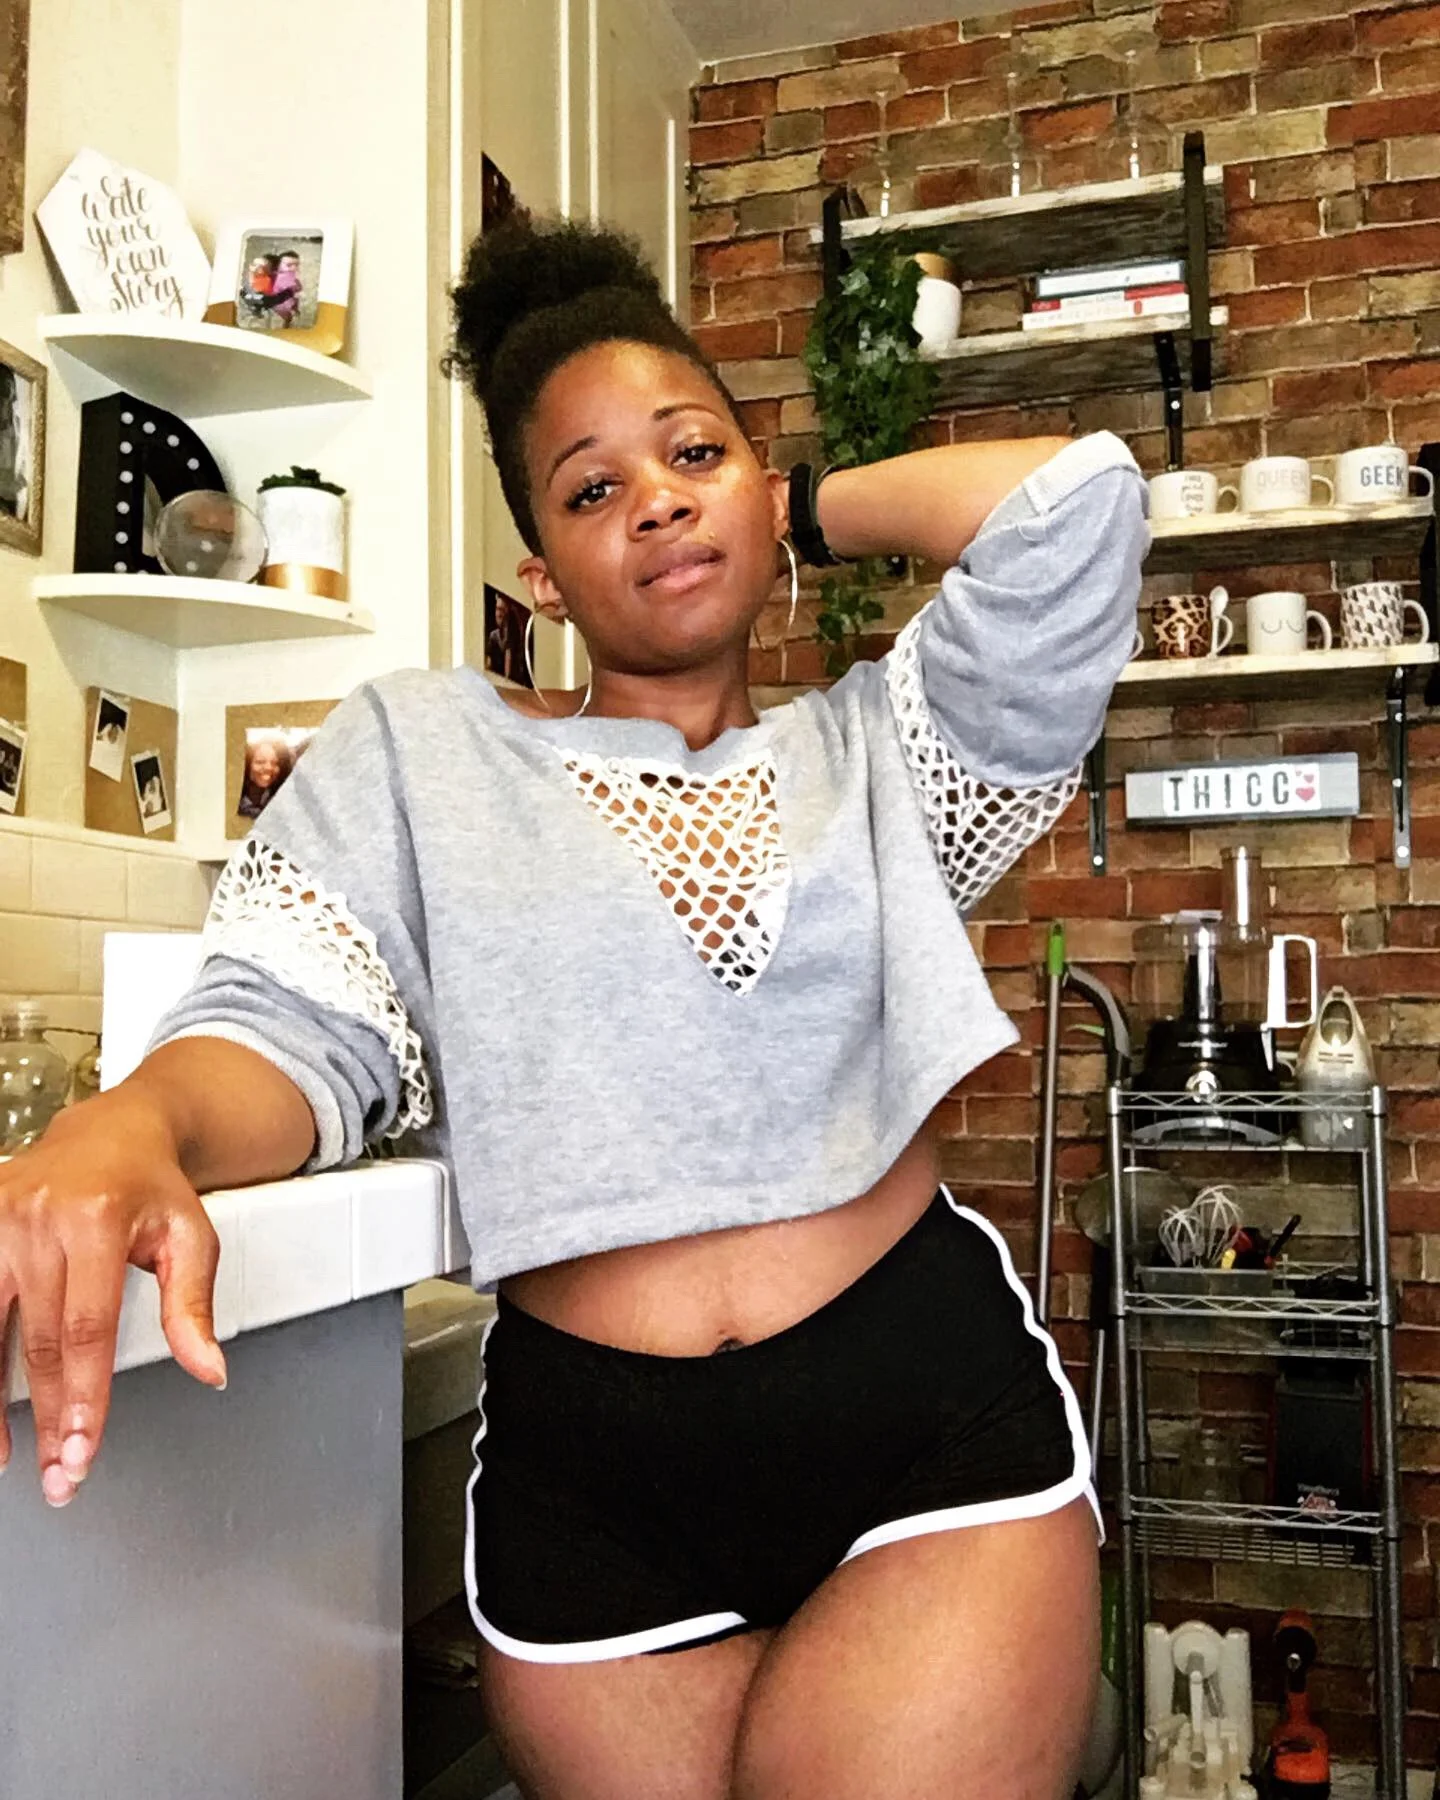
This obviously involved spending COPIOUS amounts of time on Pinterest. And I gotta say I was hella nervous that I was gonna fuck up my kitchen because Pinterest can have you thinking you can build a reliable car from weird dollar store items sometimes (lol but tell me I’m lying). I couldn’t let all of those hours of HGTV watched go to waste, and now that I was on summer break from school, I figured it was now or never. And y’all… I’m so glad I chose now cuz she makes for an amazing thirst trap wall lol.
Like I literally had no idea how much floors can really make or break the vibes of a space. I feel like I could have ended this renovation here, and would have been hella satisfied.
Day 1: Priming the floors
It was suggested on the various posts that I looked at to make sure that I scrubbed the floors clean, and that I bought floor primer so that the adhesive on the planks really stick to the ground. So I bought this primer. I spent the afternoon cleaning the floors, and then went to Lowes, and primed them that night. The package says that it can dry in 3 hours, but by the 2nd hour I knew I was better off going to bed and letting it dry overnight.
Day 2: Installing the planks
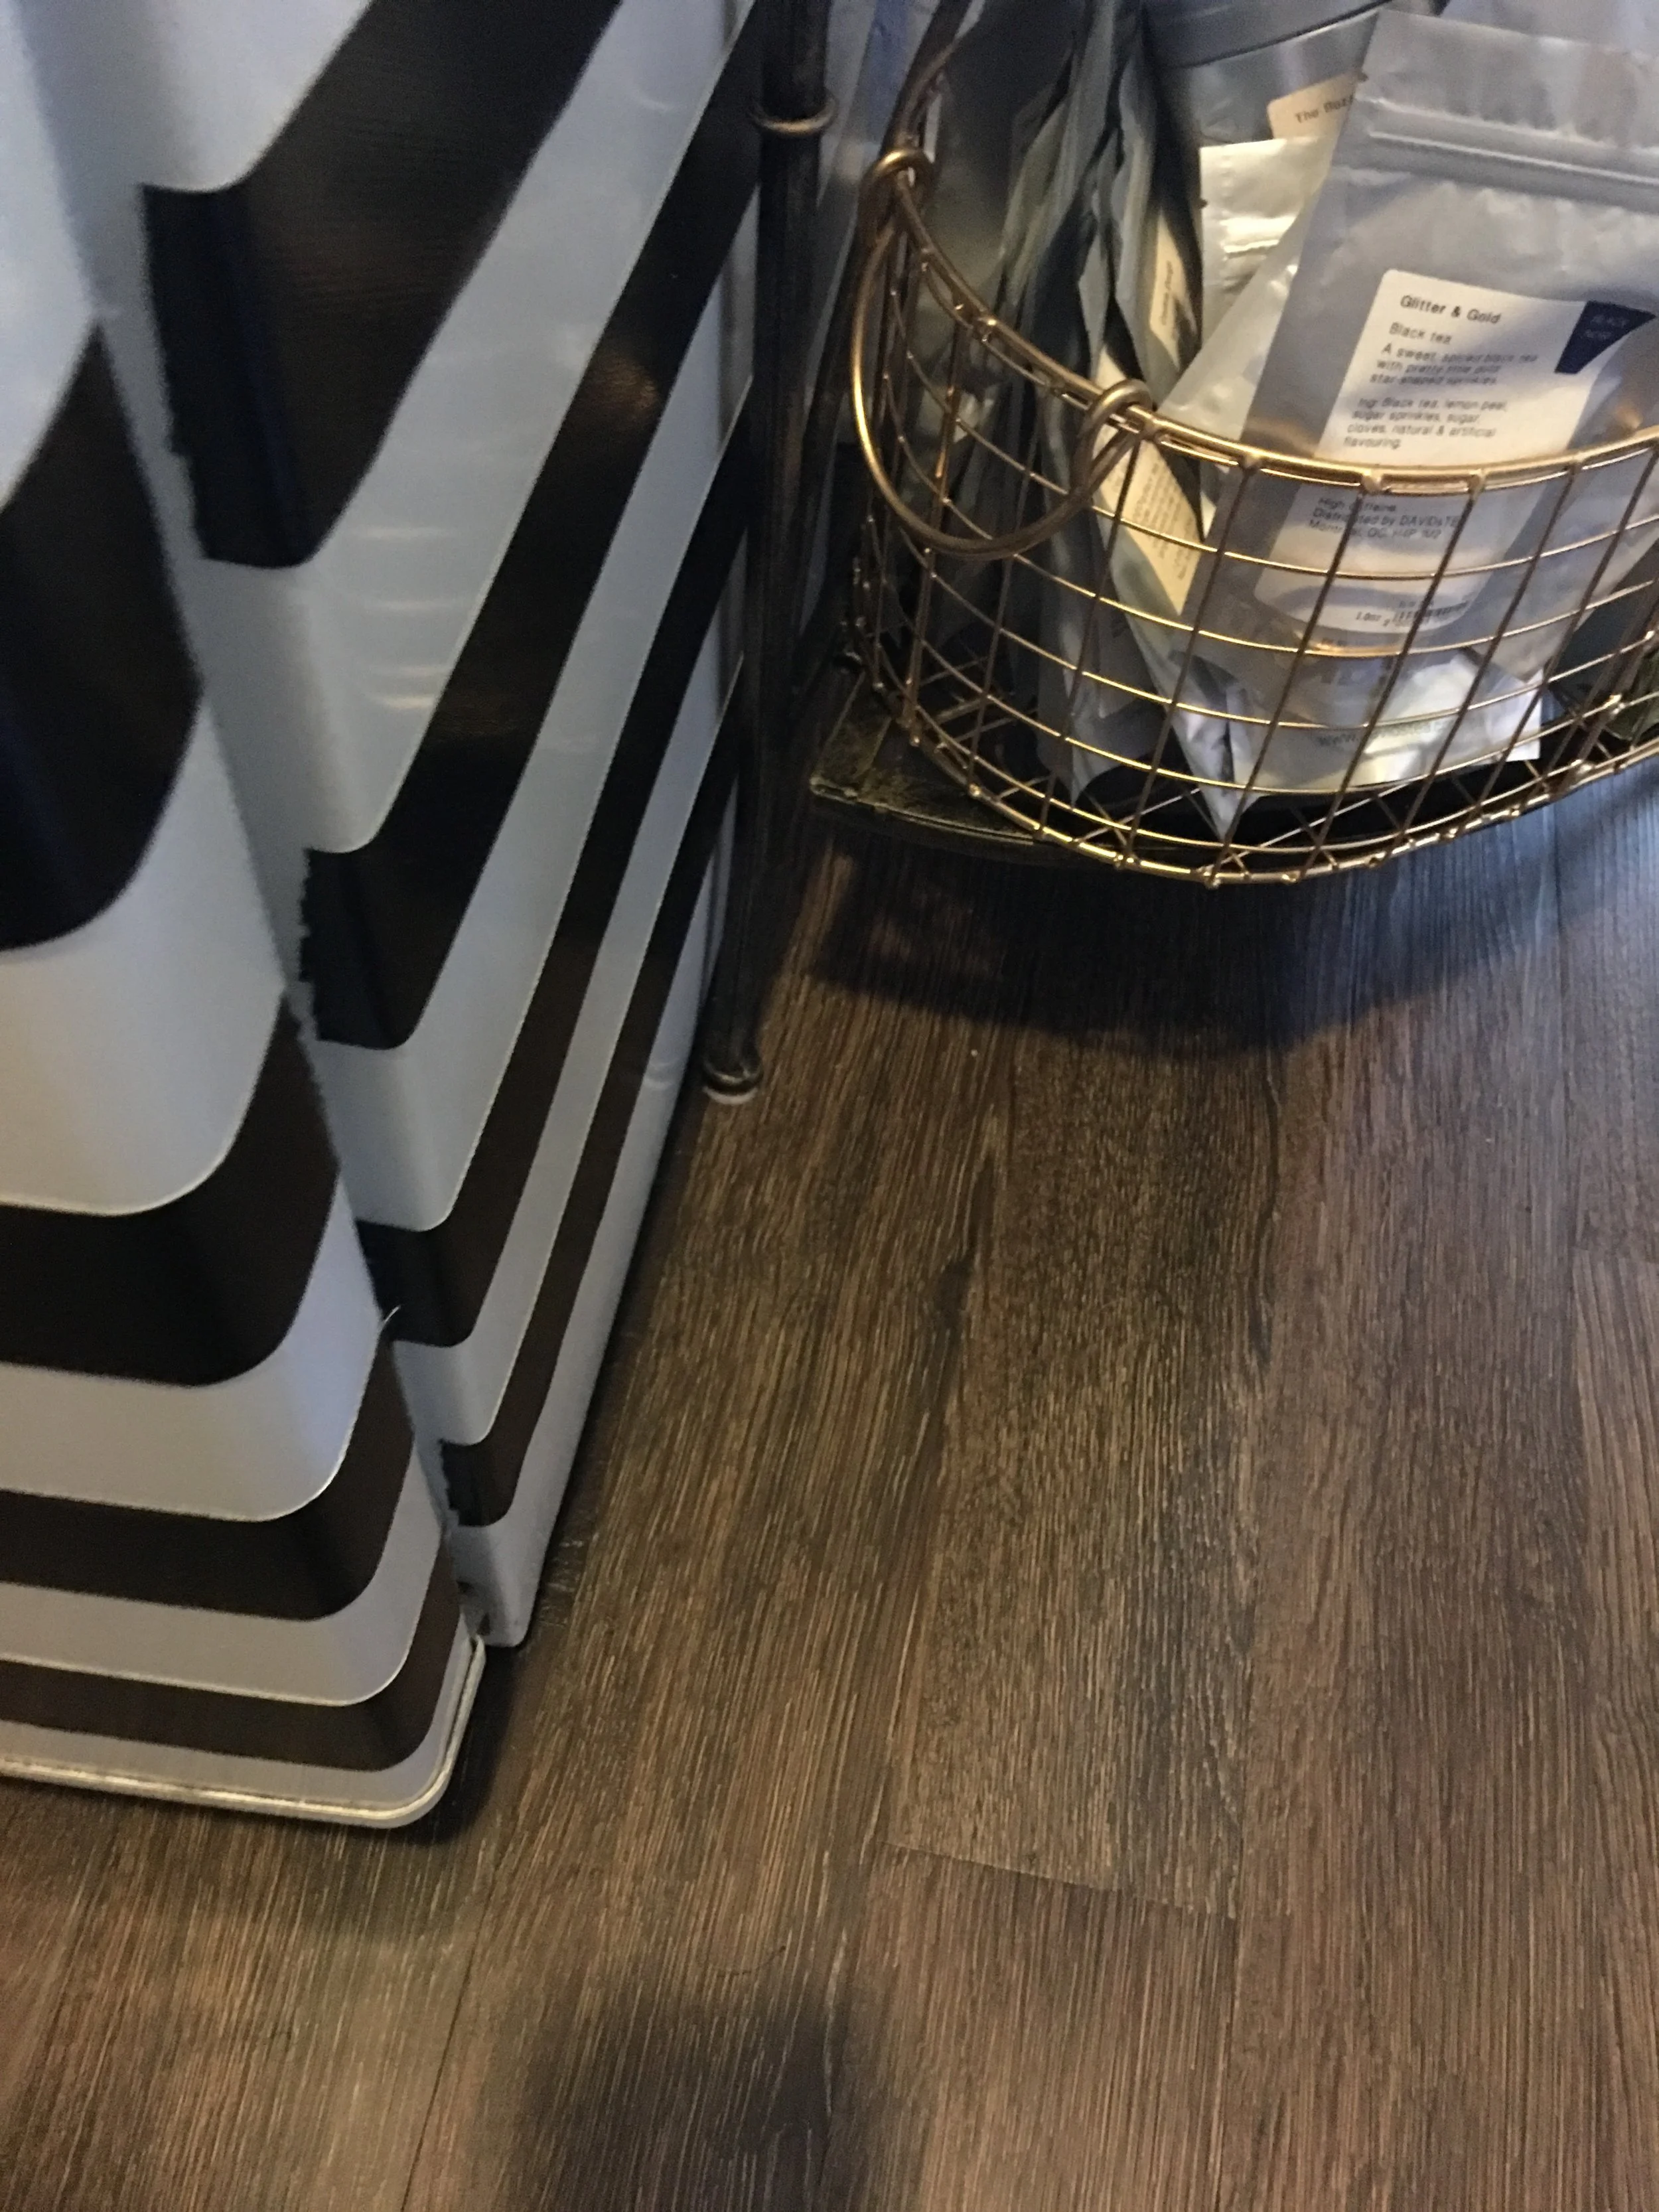
They are super easy to install. I even watched copious amounts of Say Yes To The Dress while doing it. The only tricky/tiring part is cutting them and getting them to fit perfectly against the wall (especially with the corners). I had a few small gaps, but I just bought paint that was a similar color and painted them in. You truly can’t tell the difference unless you’re looking real hard.
I would also make sure that you get a closed box when you buy them. For the brand I got, there are 45 planks in a box. So some of the boxes are open for people to grab the additional planks that they need. I grabbed a box that was open but looked full, and it turns out there were planks of the wrong shade in the box. So I had to trek all the way back to Lowes to get the right color :(.
A lot of my followers have been asking for the details on how I was able to whip it all together, and for how much. I figured it would be more helpful if I went project by project rather than lump every change together in the world’s longest blog post. So I’m starting with the floors.
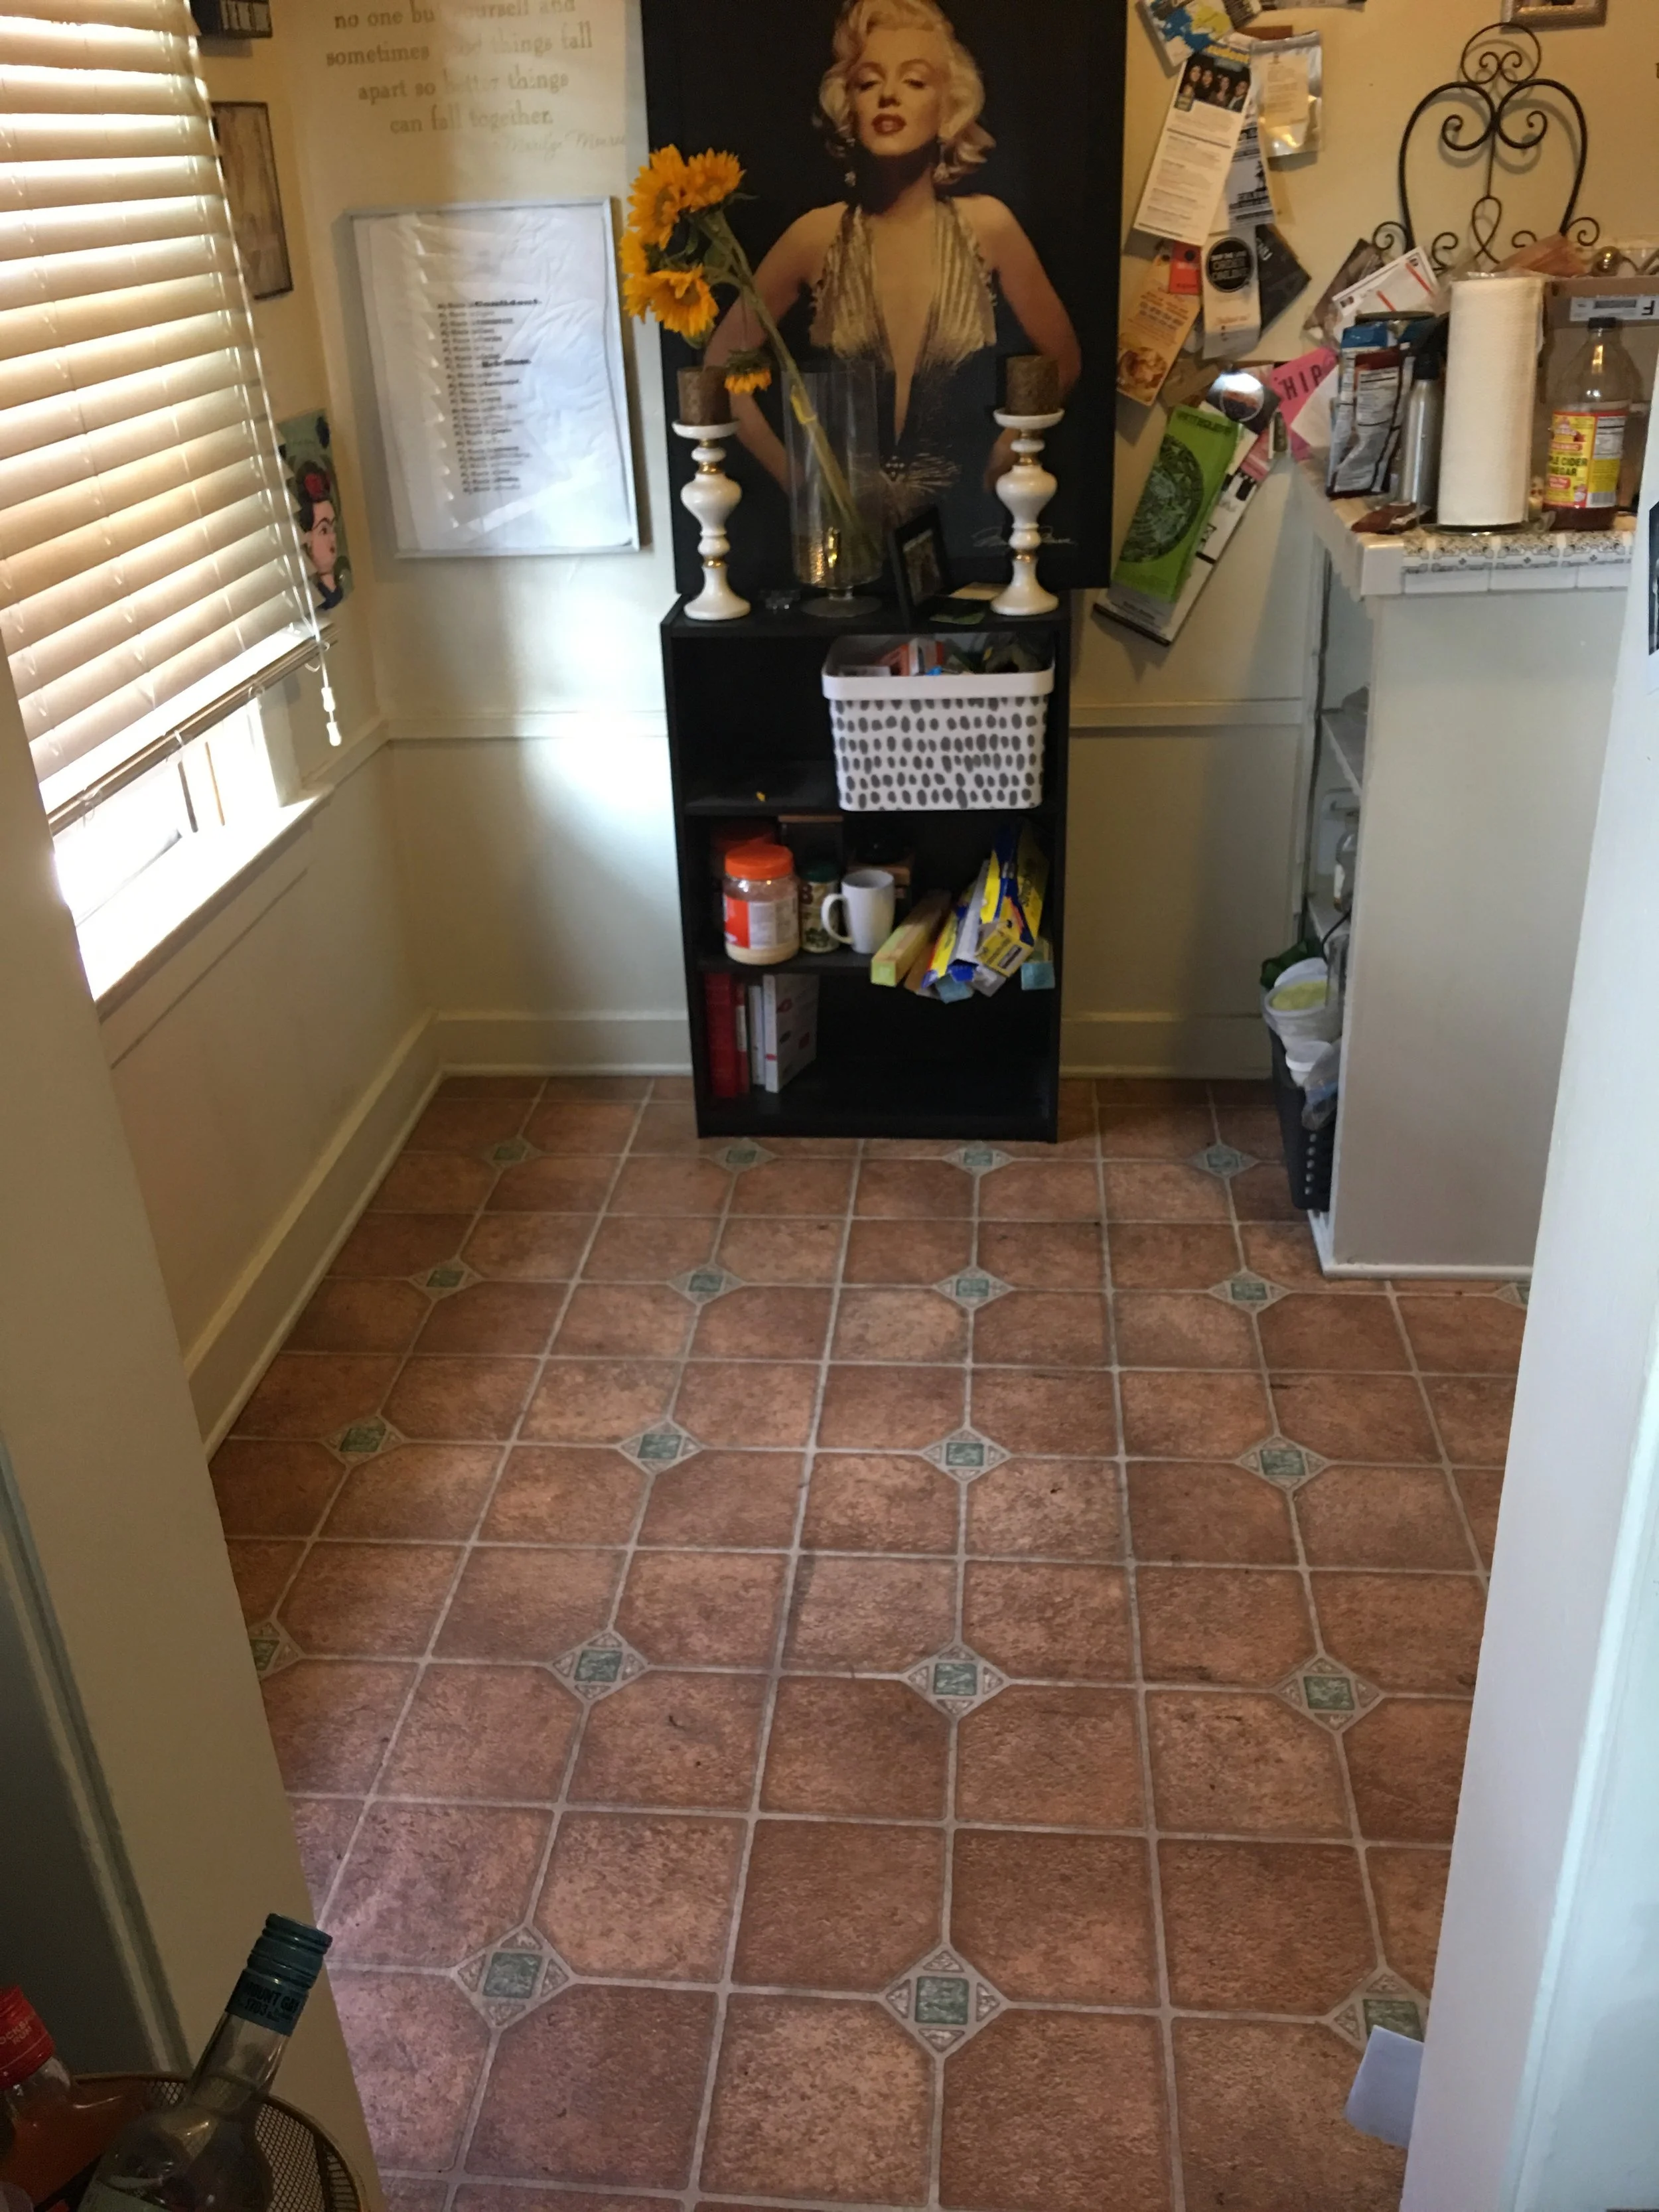
I HATED my original kitchen floors with every ounce of my being. They were this orangey-red-brown linoleum that could kill any kind of good vibes you might be having as soon as you laid eyes on it. So I knew that if I was going to really go all in on this kitchen re-do, I had to find a way to change them but in a way that was apartment friendly and easy on my patience. After hours of Pinterest searching, I learned about peel and stick vinyl flooring. These are a really great option for people who are renting because they are basically giant wood plank stickers that can be easily removed if necessary.
You can find them at home improvement stores like Lowes or Home Depot. I got my floors at Lowes, and was having a hard time deciding if I wanted the darker finish or the lighter finish. I initially went in to get the lighter finish, but in person it looked much lighter than what I saw shown online. I feel like in the future, I would use a lighter stain like that for an accent wall. But I wasn’t a fan of it for the floor.
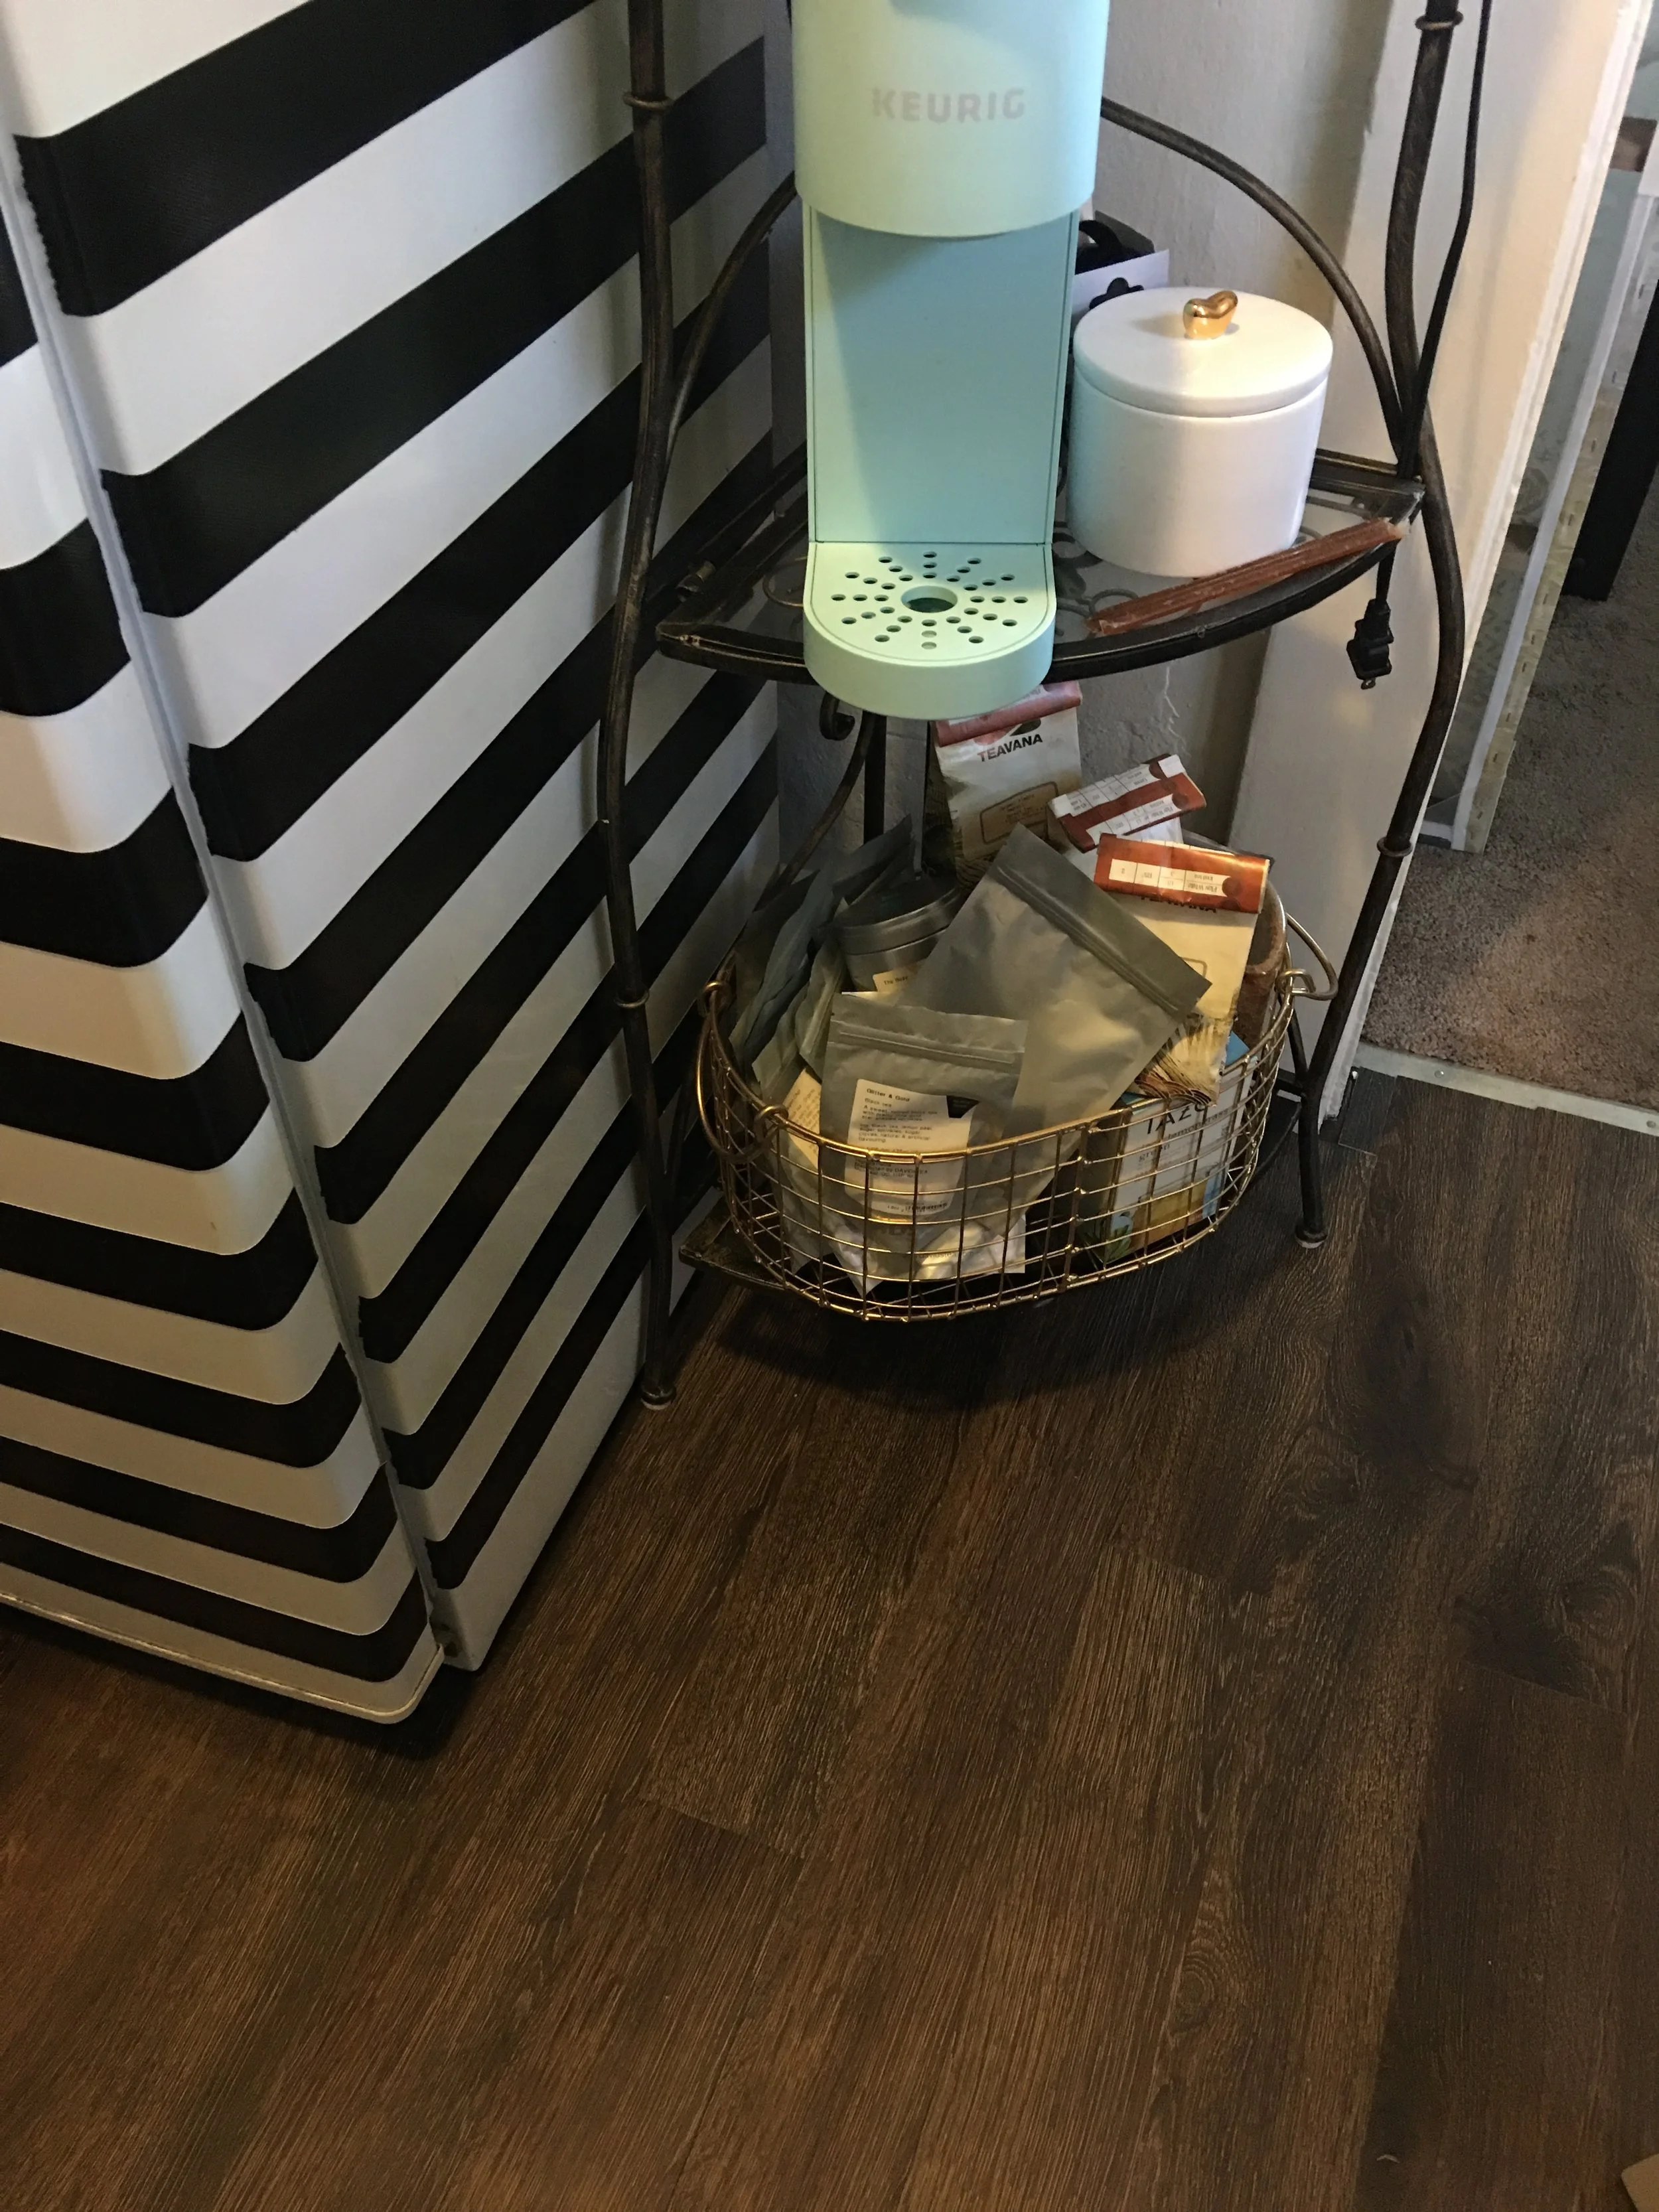
So I decided to go with the darker finish because I thought it would contrast better with the faux brick wall I had on my back wall. And Queen, I could not be happier with my choice because these floors look BOMB AF!
The whole thing took me about 2 and a half days, but if I didn’t have other obligations, I could have totally knocked out the whole project in a day and a half (depending on what time in the day you prime the floors). The floors were probably one of the more expensive parts of the renovation project, but as y’all will quickly learn, I don’t pay full price for nothing, especially the nice shit. I grew up in a family of discount hustlers and coupon gangsters. So paying full price for something literally feels disrespectful to our heritage (lol… but actually).
Just got this Kate Spade silverware set for 75% off PLUS used a coupon that got me an additional $7 off. #CouponGangsterHustle
The floors were priced at $0.98 a piece, but thanks to doing a price check on the Lowes app on my phone, I was actually able to snag the floors for $0.88 a piece (always price check on your phone if the store has an app!).
I bought 81 planks, but only ended up using 69. So my total came out to around $60 plus tax. Not bad at all for how truly happy I feel when I look at them.
Ugh, I’m just so truly in love with my floors! They truly light up my day every time I’m in the kitchen, and I don’t regret a damn thing about them. They were super easy to install all by myself, very reasonably priced, and just so fucking beautiful. Working in the Thick N Fit Kitchen has been way more exciting and fun now!
The one thing I have read about peel-and-stick flooring that you should be mindful of is that they can scratch easily. So I happened to be at the dollar store, and saw that they sell felt pads for a dollar! So all of my furniture that’s in the kitchen now has felt pads on them (which honestly I should have put on everything a lot earlier because moving stuff around is WAY easier with them on).
Specific products I used:
Primer: TEC Skill Set Multi-Purpose Primer ($12.97 — bought at Lowes)
Planks: Style Selections 1-Piece 4-in x 36-in Old World Oak Peel and Stick Vinyl Plank Flooring ( $0.88/a piece — bought at Lowes)
Paint: Glidden Universal Color Sample— Satin ultra deep base in color Kona brown I believe, but they didn’t put the title on the jar. So I would bring in a plank to color match. Sorry! ($3.58 — bought at Home Depot)
Total: $77 plus tax
Want To Keep Up With My Future Renovations:
Make sure you’re following me on Instagram (@DayshVeronica)
And check out my Amazon Influencer Store, where I have a tab specifically devoted to highlighting all the products I have used, or products that are similar to what I have used for all my home renovation projects.
Thanks for reading! I’ll catch you next time, Queens!


